This blog is not like a blog on traveling to Greece but it gives you an idea of what I am up to while at home.
Homer Hood Stop Replacement:
One plastic prong on one of the hood stops on Homer had broken off months ago. (Did I mention I hate most plastic parts?) When the hood is opened the stop just sat there, wobbling in the hole waiting to fall out. Over the last several months I tried to lock it in place using various caulks and glues that I had on hand. Not even E6000 worked for this issue. The stop just would not stay in place securely. Here is a picture of the opening the hood stop snaps into with a friction clip on each side, front and back.
.jpg)
.jpg)
Homer Mop Storage:
Homer has two closets. The first one is next to the refrigerator. It is small, less than a foot wide, and is stuffed full with our jackets, raincoats, fire poker, pie irons, etc. Not a good option. The other closet is in the bathroom. This closet is shorter because it has a raised floor under which is the hot water heater and the water holding tank.
The distance between the closet floor and the shelf above the clothes hanging rod is a couple of inches shorter than the length of a mop or broom handle. A number of years back I installed a bracket in this closet for a broom and dustpan. For the broom I had cut three inches off the handle so it would fit. I only had to cut the handle off an inch and half to fit. Once I cut off the handle and reattached it to the mop head, I needed a spring bracket for the handle to snap into to hold it against the wall and out of the way in the closet.
I was preparing to head to the hardware store when I thought to look through my boxes of brackets in the shop. As luck would have it I found an old, old bracket which had a screw attached to it for mounting it on a wall. I say this bracket is really old because it was among the hardware I inherited from my dad, who died over forty years ago. From the looks of the bracket it wasn't new when dad had it because of its old style and the chrome plating has rusting. Nevertheless, it suited my needs perfectly. I wanted it to screw into a substantial piece of wood, not just the 1/8 inch thick paneling which lines the closet. The brace holding up the shelf above the clothes rod worked perfectly.

We all know that plastic headlight lenses turn yellow as they age. The lenses on Homer were no exception. I had watched a couple of YouTube videos that showed a quick way to take the yellow off by spraying the headlights with bug spray containing "Deep", then wiping it off. I had two bottles in Homer so I gave it a try. Here is a picture showing the bug sprayed lens on the left and the untreated lens on the right.
.jpg)
.jpg)
CPAP for Homer:
A friend gave me a CPAP machine he no longer uses. I ordered a new mask for it, reset it to my pressure after learning how to do it on YouTube. I will leave the machine in Homer so I will no longer need to drag the one at home in and out. Making life easier is always cool!
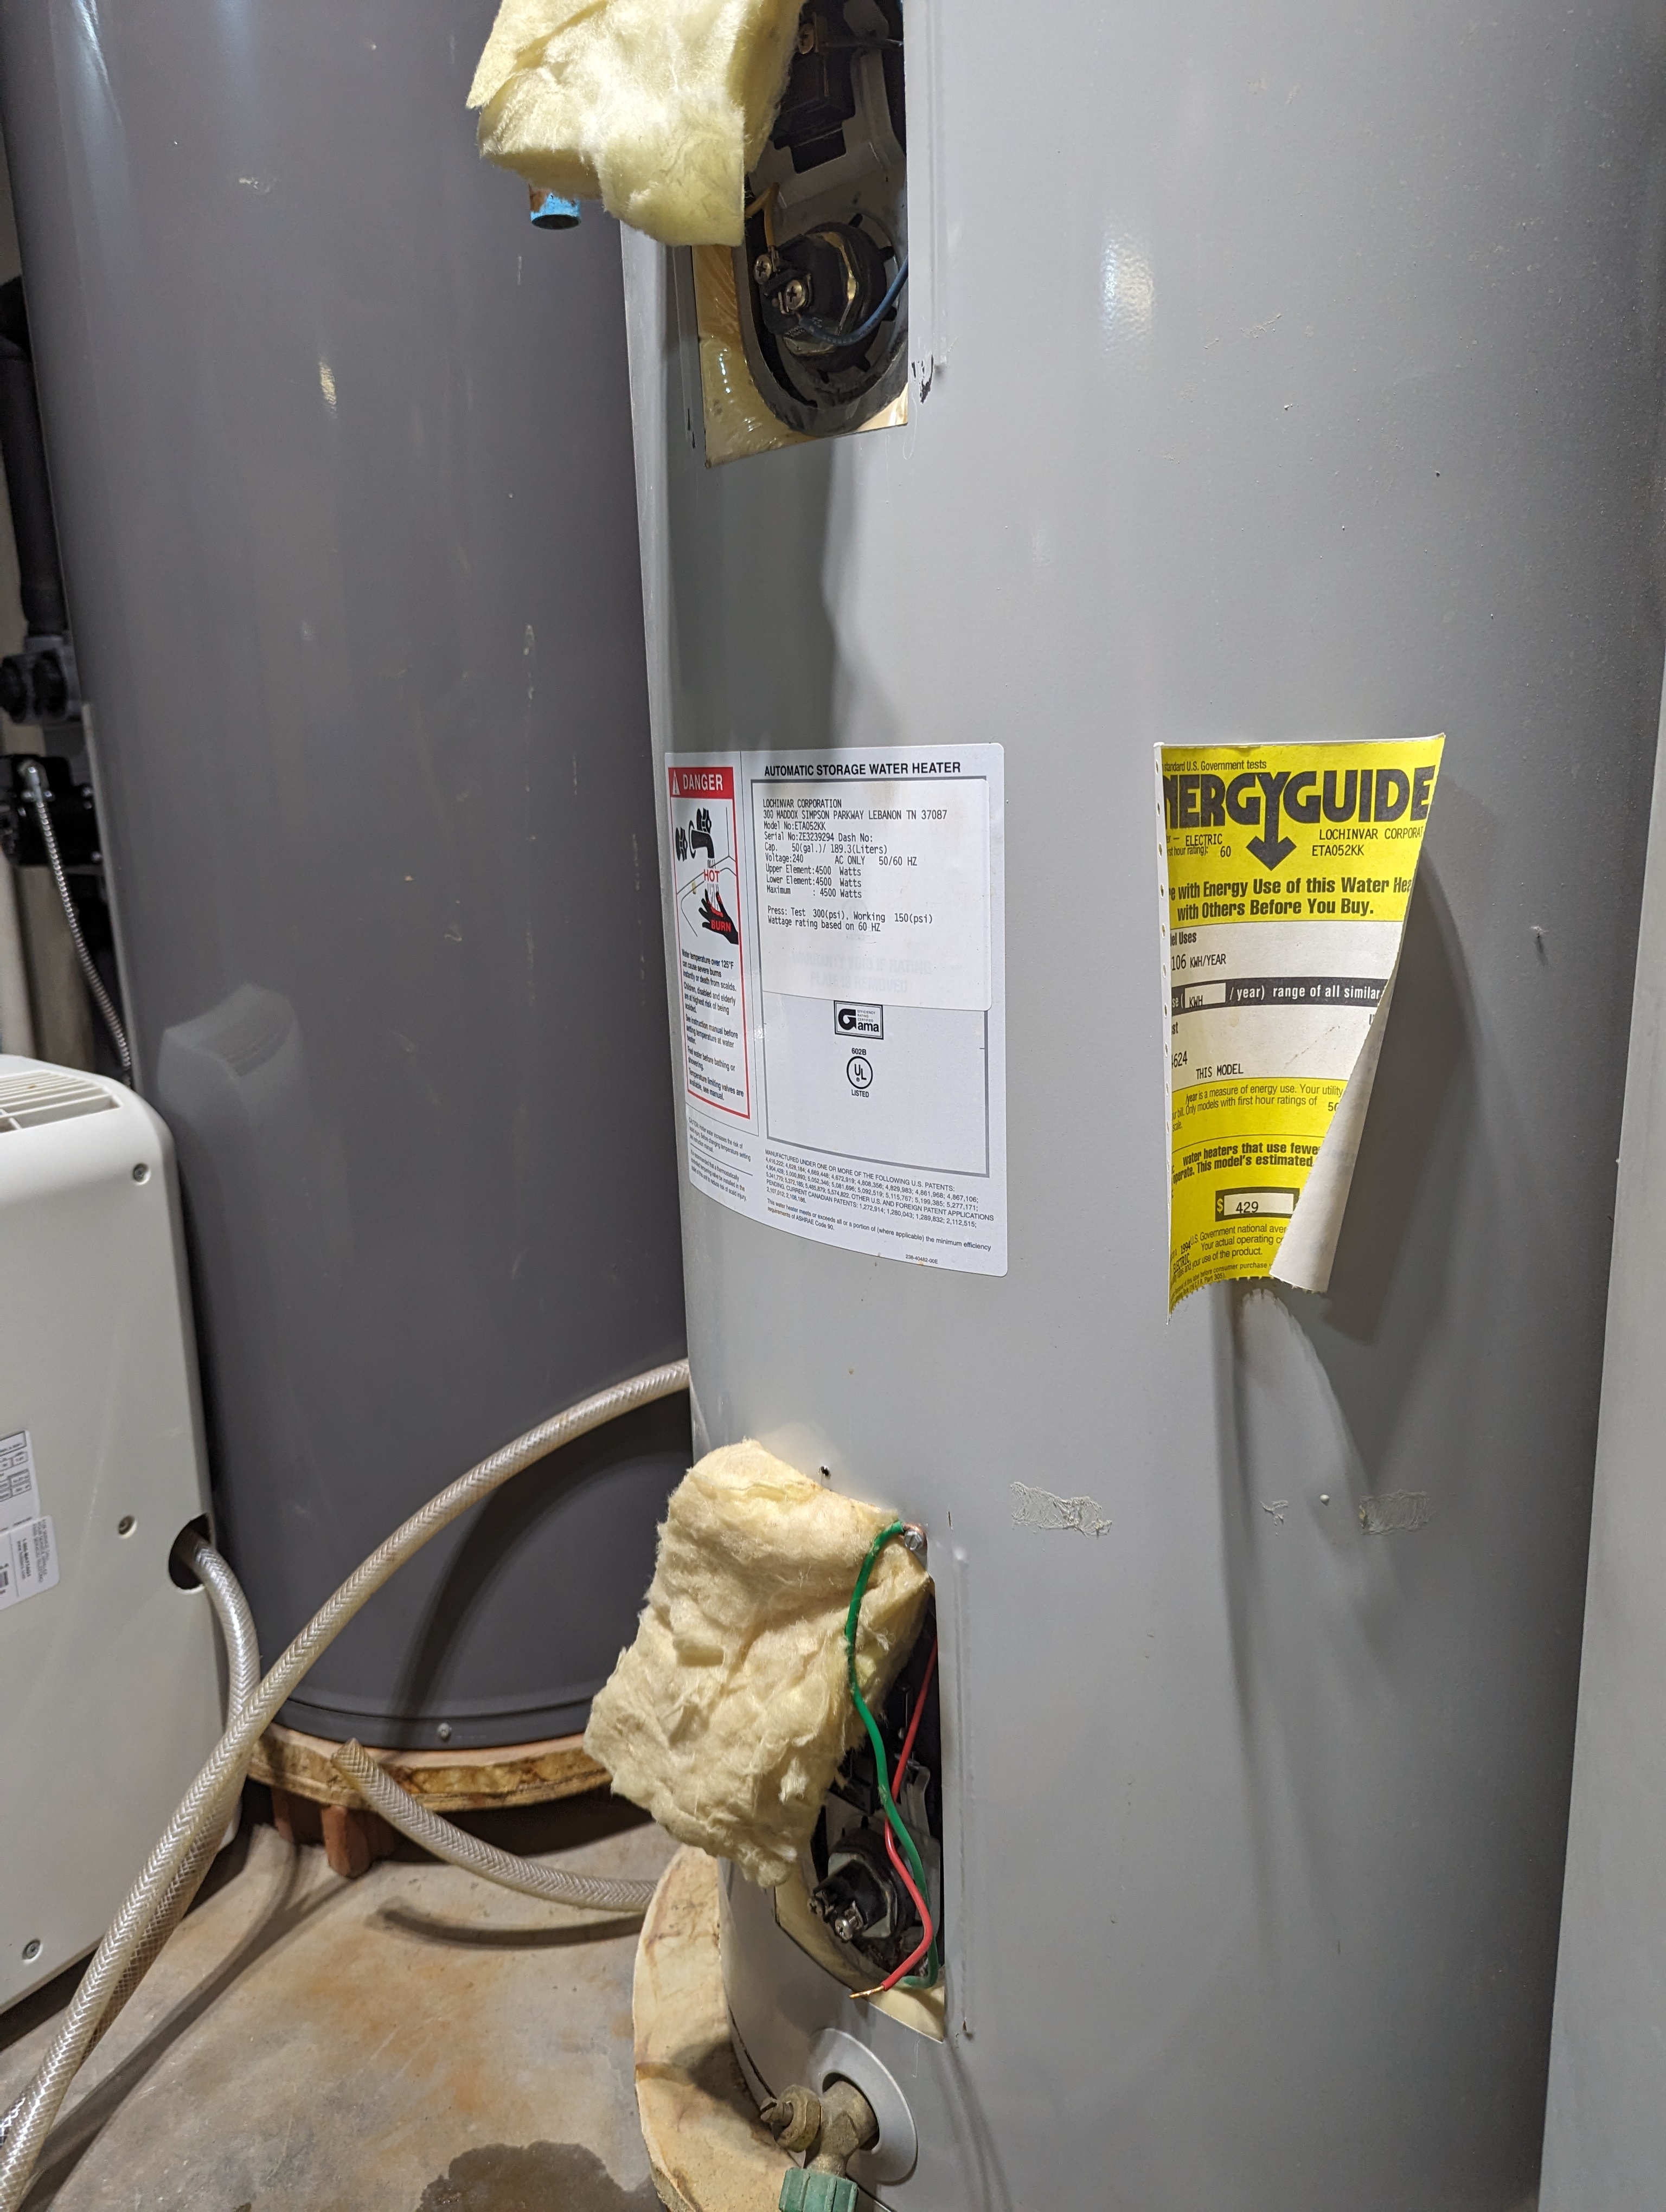
Water Heater Repair at the House:
Sunday morning when I took a shower it did seem that the water was as hot as usual. After church I looked into the problem. This is a picture of the water heater with the access panels removed to check the heating elements. The two Phillips screws visible on the bottom of each opening are located on the heating element. With the electric off you checked them for continuity, i.e. do they make a complete circuit. If the meter set on "ohms" gives a reading then the element is good. If there is no reading the element is bad.


This water heater element socket is one more tool added to my arsenal. One can never have enough tools it seems.
Speaking of tools, this whole repair was actually slowed down by my tools. Once the access covers were removed I grabbed my multimeter to test for ohms. On both elements I got no reading. That didn't make sense because I had hot water. Both elements couldn't be bad. I took the multimeter to the bench and opened it up. The 9-volt battery that powers it was dead. Of course, I didn't have a new 9-volt battery laying around so I hunted up another multimeter. I have at least four between the shop, the garage, and Homer.
With the second multimeter the top element tested fine but the lower element did not. My trip to Buchheit's included getting a new 9-volt battery for the first multimeter. I installed it and it worked fine.
In the protective case for the first multimeter there was a non-contact circuit tester. I decided to give it a test since I hadn't used it for a while either. It didn't work. I opened it up and found that both Triple A batteries had leaked and corroded the inside. Fortunately, they did no damage. I cleaned the corrosion out. I always have Triple A batteries on hand. I installed new ones and the circuit tester worked fine. Both the multimeter and the tester are ready for the next project.


.jpg)
No comments:
Post a Comment