Friday, October 27, 2023

October 23 - 27, 2023 - Backup Camera and Monitor - New Front Windows on the House

HOMER'S BACKUP CAMERA:

On the 23rd RV Cams called and said that both the monitor and backup camera I sent them checked out fine.  I told them I had power at the harness so he said he would check it some more and call me back. On the second call he said it had to be the cable from front to back, or the wiring harness. I decided he should just send both units back. Thursday afternoon I received the monitor and camera back from RV Cams. Friday morning I reinstalled the camera and the monitor and still had nothing

I put this wiring harness in about ten years ago when we first got Homer. The wiring harness picks up power under the dash, runs through the passenger side of the dash, and down behind the kick panel on the passenger side of the cab. I took the camera back out of its bracket on the back of Homer and plugged it directly into the wiring harness. - still nothing. Here is a picture of that area. I plugged it into "Camera 2", but nothing there either.

By taking the kick panel and door step panel out and plugging the camera directly into the harness I eliminated one possible problem - the cable which runs from the monitor in the front to the camera in the back. I had mice eat on it two times in past years. 

After not getting any results, I called RV Cams and ordered a new wiring harness for $22.00. Surely that will solve this problem! To be continued. . . . . . 

NEW FRONT WINDOWS:

In July we ordered all new front windows for the house. The original front windows were shot. Some were rotting out, some had cracked glass, some lost the seal between the two panes of glass, and some slid out of their frames so that they were not even watertight. 

The new windows were made to order and then had to be scheduled for installation. On Wednesday I got phone call that two installers would be at the house at 8:00 a.m. on Thursday, the 26th. It would take them two days to remove the old windows and install the new ones. They arrived on time with a trailer full of windows. (There are fifteen windows just on the front of the house.) 

Rain was predicted all week for Thursday and Friday. Fortunately, that forecast changed and now the rain to come Saturday. With great weather the installers were able to get all the old windows out and the new ones roughed in on Thursday. They spent Friday trimming everything out inside and outside, caulking, and cleaning up. A painter will be out soon to paint the half-moon trim pieces on the inside. For some reason these pieces do not come pre-painted from the factory.  The windows look great. Here is a picture. They will certainly outlast me.

Now that the window project is complete, we can begin in earnest to decide on what we want to take to Florida next month. We already have set aside a lot of larger items so we will need to take the truck. The truck bed will be heaping full and the back seat as well. I have a tarp and I borrowed a cargo net from John to tie it all down. This will be our first trip to Florida in the last ten years without the fifth wheel. A different experience. 


Monday, October 23, 2023

October 17 - 23, 2023 - Homer Repairs and One Improvement

Now that Homer is at the house, I can make a few repairs before he goes into storage for the winter. The first repair was the venetian blind over the table.

The Venetian Blind:

This blind fell down while we were driving on the road back from the Natchez Trace trying desperately to make it back to the transmission shop. Upon investigating why this happened I found that the plastic peg that fits into the metal bracket, which holds the blind on the wall, had broken off. Here is a picture of the black plastic cap. You can see that the plastic peg in the middle broke off leaving a hole. I looked all over but could not find that piece in order to attempt to glue it back on. I would have to make a new piece. 


It would have been optimal to have been able to take the black plastic cap completely off to make this repair but, as you can see in the next picture, the string which pulls the blind up and down, runs through the black plastic cap and on across the top of the blind and down the other side. The repair would have to be made with the black cap in place. Fortunately, I was able to pull the cap out of the rail to make the repair.  Here is a picture of the string running through the plastic cap.


I made the repair by drilling the hole out and gluing a dowel half in and half out of the hole. One end of the dowel protrudes out the plastic cap to fit into the metal bracket on the wall. The other end was inside the rail for a lot of glue holding surface. For this to work all of the glue would have to be on the inside of the cap. I had to be careful not to get any glue on the string because it must be able to move freely for the blind to work up and down. I placed masking tape around the inside of the cap to keep glue away from the string. I then used J B Weld to attach the dowel to the black plastic cap. Here is a picture of what the glued dowel looks like from the inside. It was hard to be neat with the glue in such a confined space.


The next picture shows the wooden dowel sticking out on the outside of the black plastic cap. The unglued portion of the dowel is inserted into the metal bracket on the wall to hold the blind in place.


Upon taking the masking tape off I found that no glue had accumulated around the string. Good news. I inserted the black plastic cap back into the top rail of the blind for installation on the wall. Here is a picture.


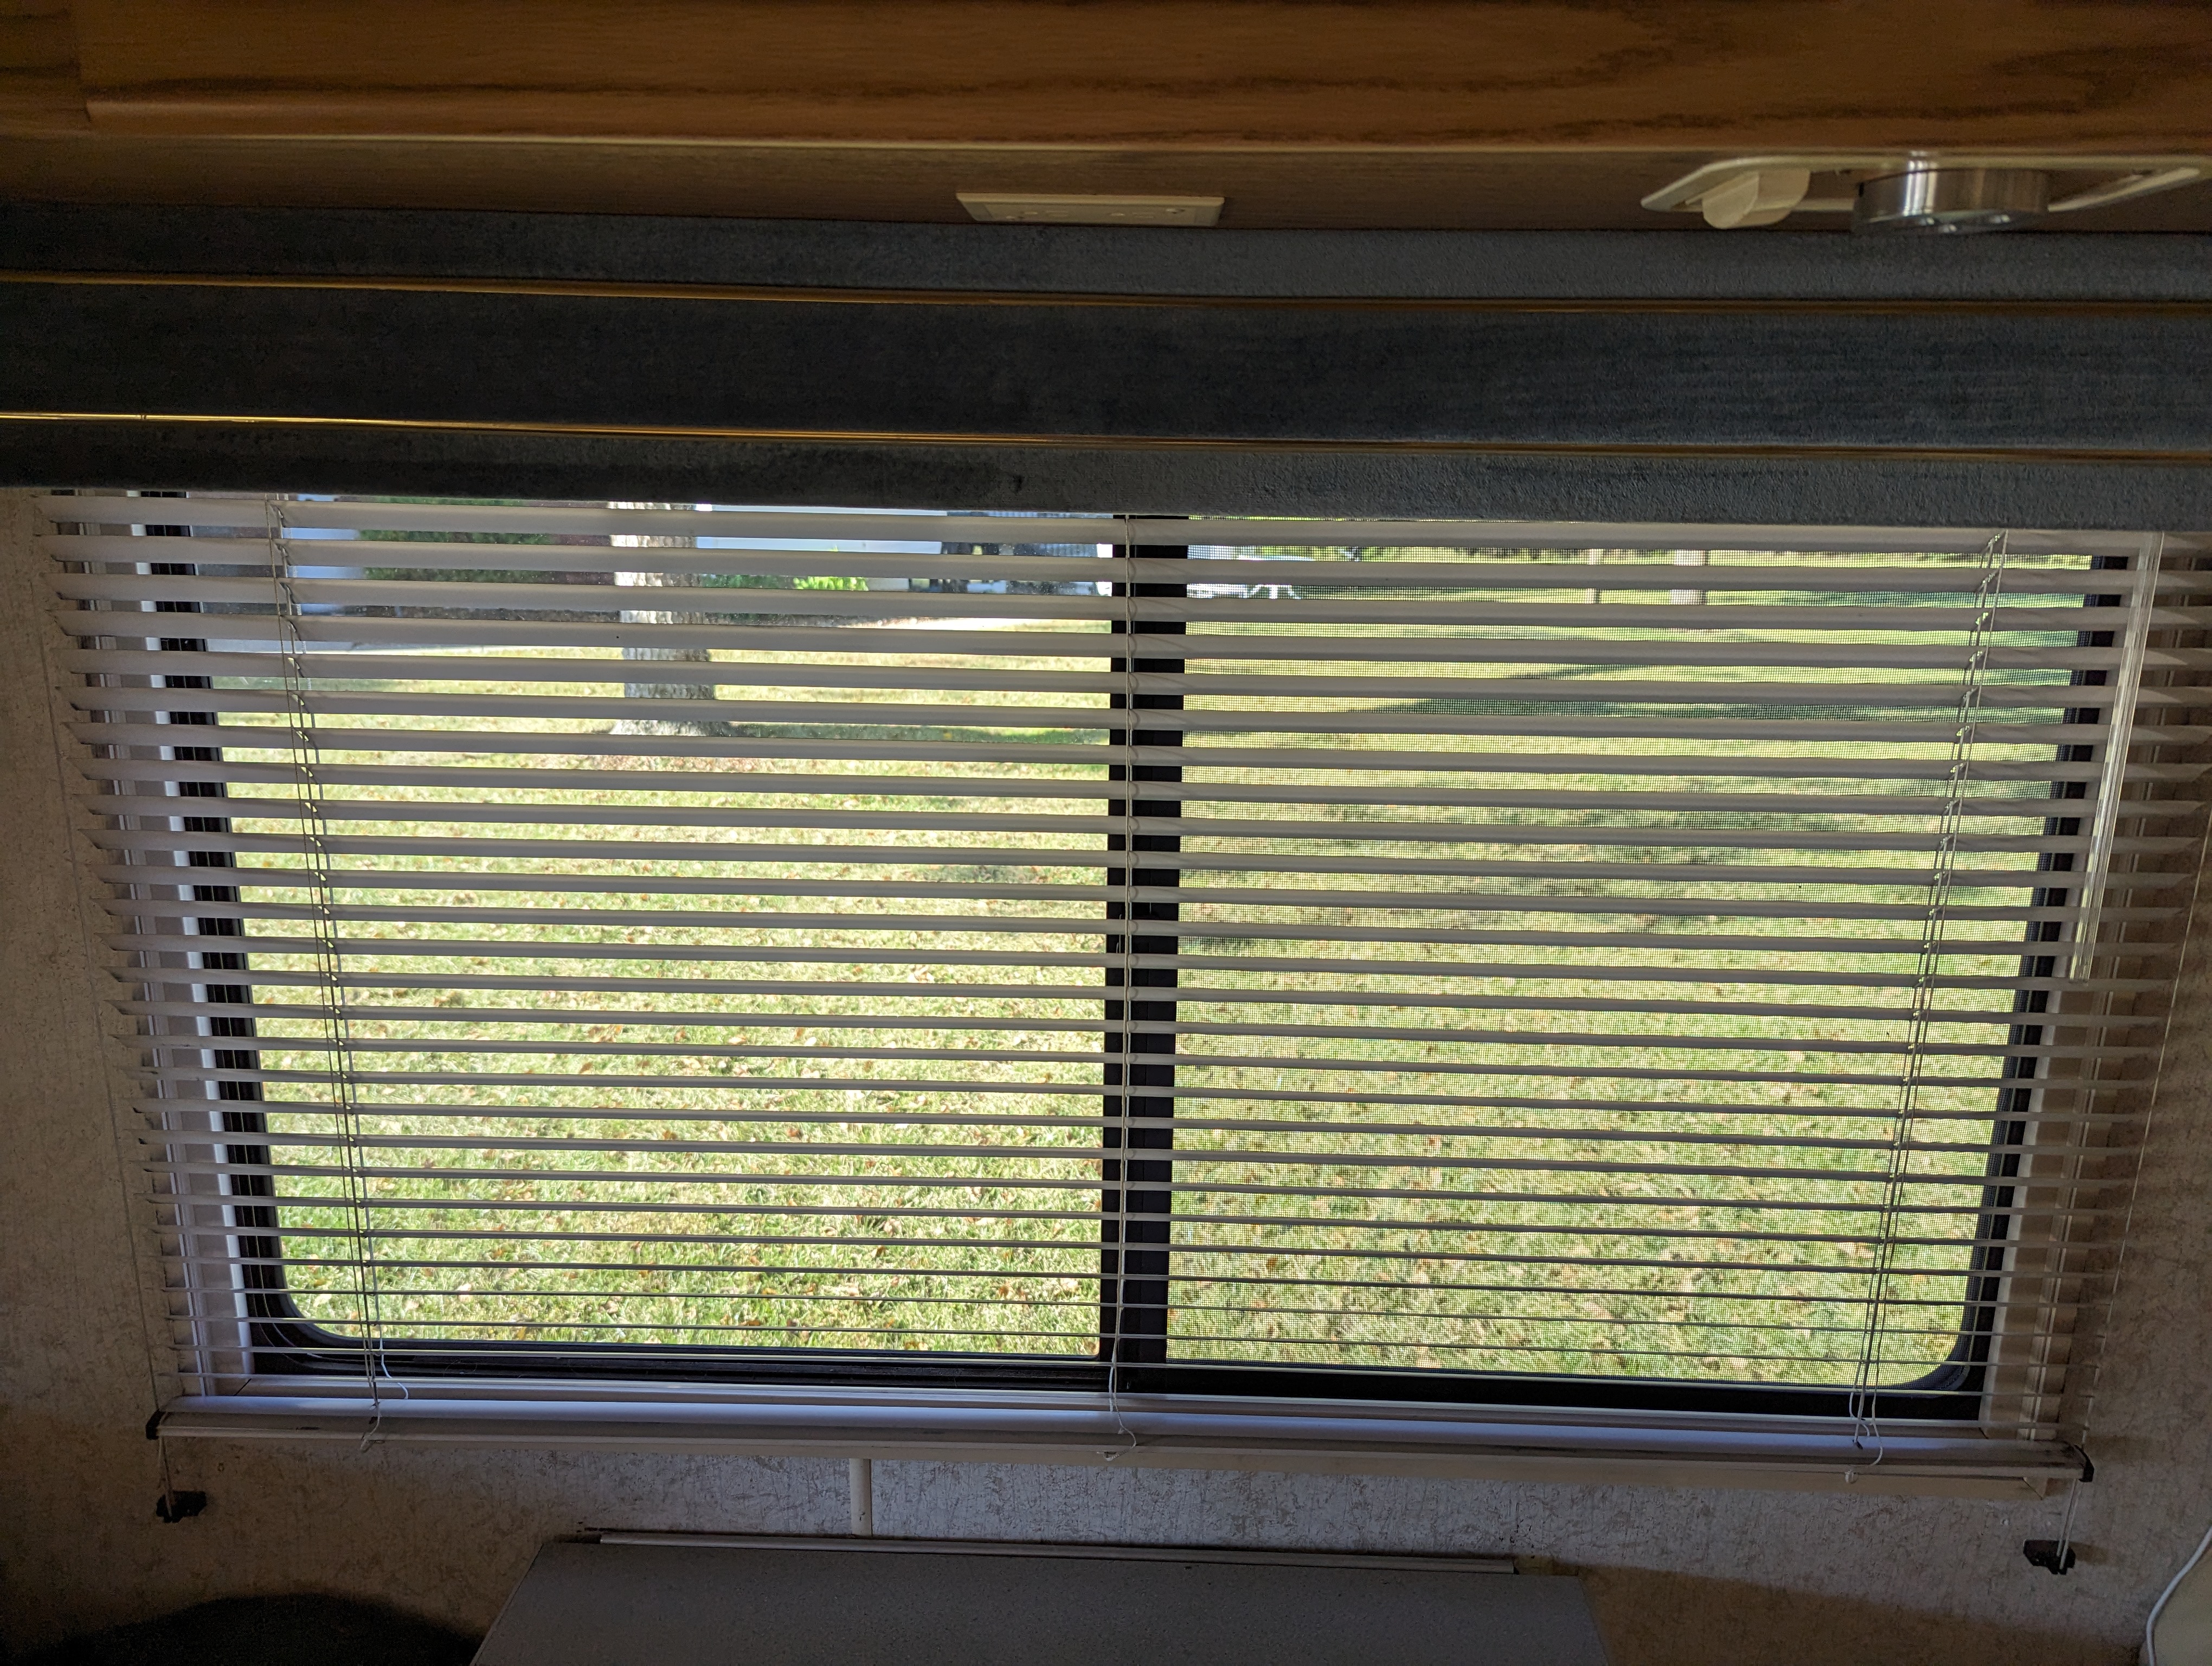
I reinstalled the blind by inserting the peg on each end of the rail into each metal bracket on the wall. There is a lot of pressure on these pegs to keep the blind down and tight against the wall. It worked. Here is a picture of the final result. I hope the repaired peg lasts 30 years as the original peg did. LOL


Passenger Door Armrest/Handle:

The next repair was the passenger armrest/handle, hereinafter referred to as the handle. The handle is made out of plastic and foam rubber covered with vinyl. The plastic and foam rubber have deteriorated over the years allowing the screw, which attaches the handle to the door, to pull through. Here is a picture. You can see the white screw from a repair by the previous owner. You can see the mounting screw and washer I used for my previous repair, both are still attached to the door bracket.


This handle had been repaired by the prior owner at least once and by me once. Each repair lasted for a few years. The washer was part of my last repair. It was a necessary addition because the plastic under the mounting screw had deteriorated and broken away. 

This time my first attempt was to repair it with E6000 adhesive, which is awesome stuff. I did this and it looked like this. I was happy.


However, when I went to reinstall the handle, I immediately realized that I had screwed up. I forgot that the washer must be mounted on an angle for the handle to tighten against the door mounting bracket, which protrudes about a half inch on an angle. I cut out this repair and, with my Dremel tool, cut a groove in the handle on an angle to accommodate the washer. The mounting screw goes through the washer, which is glued to the handle. Here is a picture of the groove cut into the foam and plastic.


I then used J B Weld to hold the washer in place and to fill in the cavity on the inside. After more thought I was afraid the E6000 wouldn't be stiff enough for this project. Here are a couple of pictures as the J B Weld is drying.


I reinstalled the handle and it appears to be holding well. Time will tell. It is interesting that this handle keeps failing when the driver side door is open and closed much more often and it has not failed.


The Backup Monitor and Camera:

The next project was the backup camera. It worked fine on the way home from the transmission shop.  After getting Homer home I decided to eliminate the CB radio mounted to the doghouse. We never use it and it is in the way. I unbolted it and cut the wires. I then stuffed the wires up under the dash. After I did that the backup monitor was dead when I tried it. I assumed that by shoving the wires up under the dash that I had broken a wire connection to the backup monitor. I took the access panel on the top of the dash off, as well as the doghouse, to access all wires. With John's help Friday we traced all the wires. We found a bad ground wire connection. Yippee!  We found the problem! We fixed the wire but still the monitor did not work. We had 12-volt power in the connector that plugs into the back of the monitor but nothing came on when the power button was pushed. I called the company I bought the monitor from a number of years ago and was told that it could be the monitor or the camera. If I would send both the monitor and the camera to them, they would test both to see which was the problem. Of course, the monitor model I have is no longer being made so if it is bad, I will have to buy something else. I sent both items off on Friday for testing. I await their feedback. Here is a picture of the open access panel on the top of the dash awaiting a monitor reinstall.  You can also see bobblehead "Homer", who has been mounted there for almost ten years, as well as the 12-volt power outlet, which had been mounted to the dashboard where indicated by the yellow arrow.


In getting the doghouse out to check for bad wire connections I had to remove the 12-volt power outlet 3M taped to the dash. I had tried Velcro for this mount but with pulling plugs in and out, it wouldn't hold. I will have to buy some new 3M material to reinstall it. This power outlet is quite handy in that the Garmin plugs into it, our phones plug into it, and our Bose speaker plugs into it. We listen to audiobooks downloaded on our phones while traveling. We listen to them via Bluetooth to a Bose speaker which sits on the top of the doghouse. New technology adapted to an old rig. 

Winterizing:

We will not have time for an RV trip before we leave for Florida. While waiting for a resolution of the backup camera issue, I winterized the plumbing in Homer and emptied all items which could freeze during the winter. I still need to remove the house and chassis batteries but I will wait to do that until just before he goes into storage. I always put the batteries on smart chargers in the garage for the winter.

New armrest/end table project:

During the last trip we came up with the idea of making an armrest end table for the couch. Whenever I sit on the couch there is nowhere to set a cup of coffee or another beverage. I decided to make a simple end table that slips over the couch end cap. Why did it take almost ten years to come up with this great idea? Here is a picture of the couch end cap, which is below the cushion. It is not meant to be an armrest. The mechanism that operates the jackknife sofa is attached to it and the end cap is bolted to the floor.


In this next picture you can see how the end cap, which is only 2.25 inches wide, is well below the seat cushion. 

Here are pictures of the armrest I made. It rests on the end cap and the sides slip down about eight inches so that it does not "wobble". It will work great. It will have to be removed before pulling up the jackknife couch for any reason. This is not a big deal because we rarely raise the jackknife sofa for any reason. I'm looking forward to using it to enjoy my morning coffee come spring.


Homer repairs blog to be continued when there is news about the backup camera . . . . . . . . . . 


Monday, October 16, 2023

October 12 - 16, 2023 - Home Maintenance Project While Homer is in the Shop and HOMER COMES HOME!

While Homer has been at the transmission shop, I decided to take on a much-needed home maintenance project - scraping and painting the deck. I had put this maintenance issue off all summer because of the heat. I just don't do well in heat anymore. 

We have a large wooden deck, approximately 750 square feet. It was last painted in 2020. The deck is over 25 years old so as the wood ages it needs repainting more often. There was a lot of prep work this time scraping off loose paint and putting putty in some broken out areas. I tackled the rails first. Unfortunately, I did not take any before pictures to show how bad they looked. A lot of the rail prep work was on my knees. Being on my knees with knee pads isn't too bad but getting up is. LOL 

The rails are wood and painted gray while the balusters are black metal. After scraping all the rails I taped off the bottom of each baluster to keep from getting paint on it. This was time-consuming to do and time consuming to get the tape back off. The rails and posts all had to be painted on all sides. Scraping and painting the outside required me to stretch all I could while standing on my 8-foot ladder. Here is a picture of the painted rails and posts.


The next few days I tackled prepping the deck floor. I power washed it, I blew it off with the leaf blower, which really helped lift off loose paint, and, on my knees, I scraped off paint by hand. Here are two pictures of the deck surface after all that was done.


The plan was to paint it on Sunday the 15th because rain was forecast for Saturday the 14th. However, the forecast changed. The rain was called off for Saturday and moved to Sunday. My daughter, Alexa, had volunteered to come down to help with the deck painting so I contacted her to come Saturday instead. Luckily, she was available.

In the past I had always painted during summer weather. Now, it being October, the weather was much cooler and we had to deal with constantly falling leaves. Alexa did all the trim work and removed leaves as they fell on the deck before I painted. In the past I had painted the entire deck with a four-inch brush. I then went to an 8-inch-wide paint pad to speed up the project. This year I decided to try rolling the paint on. It went well. Here are a couple of pictures of the finished deck. I am happy how it turned out. I will not put the furniture back on the deck for a couple of days to let the paint cure well in this cooler weather.


HOMER FINALLY CAME HOME:

Homer has been at the transmission shop for weeks the second time. The technicians were still not able to duplicate the problem of it falling out of gear and into neutral. It would not do it even one time for them. Whenever they drove him, he shifted perfectly, never dropped into neutral as we experienced hundreds of times over the last two or so years and dozens of times on the way back from the Natchez Trace last month. No fault codes were ever detected using their diagnostic equipment. Without being able to verify the problem they did not want to rebuild the transmission at a cost of $3,500.00 - $4,000.00.  After much diagnosing and studying by several different technicians, they came to the conclusion that the transmission module must be causing the problem, although that is rare. I authorized them to put in a new transmission module at a cost of $800.00, parts and labor. If this solved the problem, it would be much cheaper than a transmission rebuild. If it did not solve the problem, WE WOULD ALL KNOW IT IS THE TRANSMISSION.

Friday, the 13th, I received a call from the shop advising that Homer was ready to go. The old transmission module never put out any codes. Once the new transmission module was installed it immediately threw a code indicating that the MLPS switch on the transmission, which has something to do with telling the transmission to drop into neutral, was faulty. They replaced this switch as well and are confident they have found the problem. The bill was $1,133.97. There was an earlier bill of $201.00 for cleaning various connections hoping to correct the problem. A total of $1,334.97 spent.

Today we picked him up and brought him home. Here he is raring to go on a trip somewhere. I powered up the generator to exercise it, which I do monthly when he is home.

I doubt we will have good weather and/or time to take him on a trip before he needs to be winterized and stored for the winter. While he is here at the house I have several items to repair. The first is the broken window blind, the second is fixing the passenger door arm rest/handle that has pulled loose, the third is the TV antenna not working, the fourth is the bathroom sewer vent seal, the fifth is making new AC filters, and the sixth is revamping the bathroom closet to better accommodate how we use it. Tomorrow Homer is scheduled to be inspected for new license plates before we head South next month. I hope to have all the little items fixed soon.


September 6, 2024 - October 11, 2024 - Homer Repair and Florida Hurricanes

  My Blog Reflection We cannot do everything at once, but we can do something at once. Calvin Coolidge September 6, 2024: The transmission s...